Quick start
This quick start guide will get you up to speed in cloning the dnb-web-core-apps source repository, which contains web core applications served in the online bank; enabling installation of dependencies and running one of the applications.
Guide
1. Configure Zscaler Private Access
In order to reach GitLab and Nexus (which hosts the npm packages) from your machine, follow this guide: Using Zscaler Private Access to connect to gitlab and nexus. Visit this page to learn more about zscaler private access.
2. Request Web Dev Family Role
In order to access services hosted in web core that you will need during development, you need to be part of roles required for each service. These access roles are now centralized in the T&S CCS CC Web Platform - DNB Web Dev Family Role. You need to be added to this family role to get access to these services.
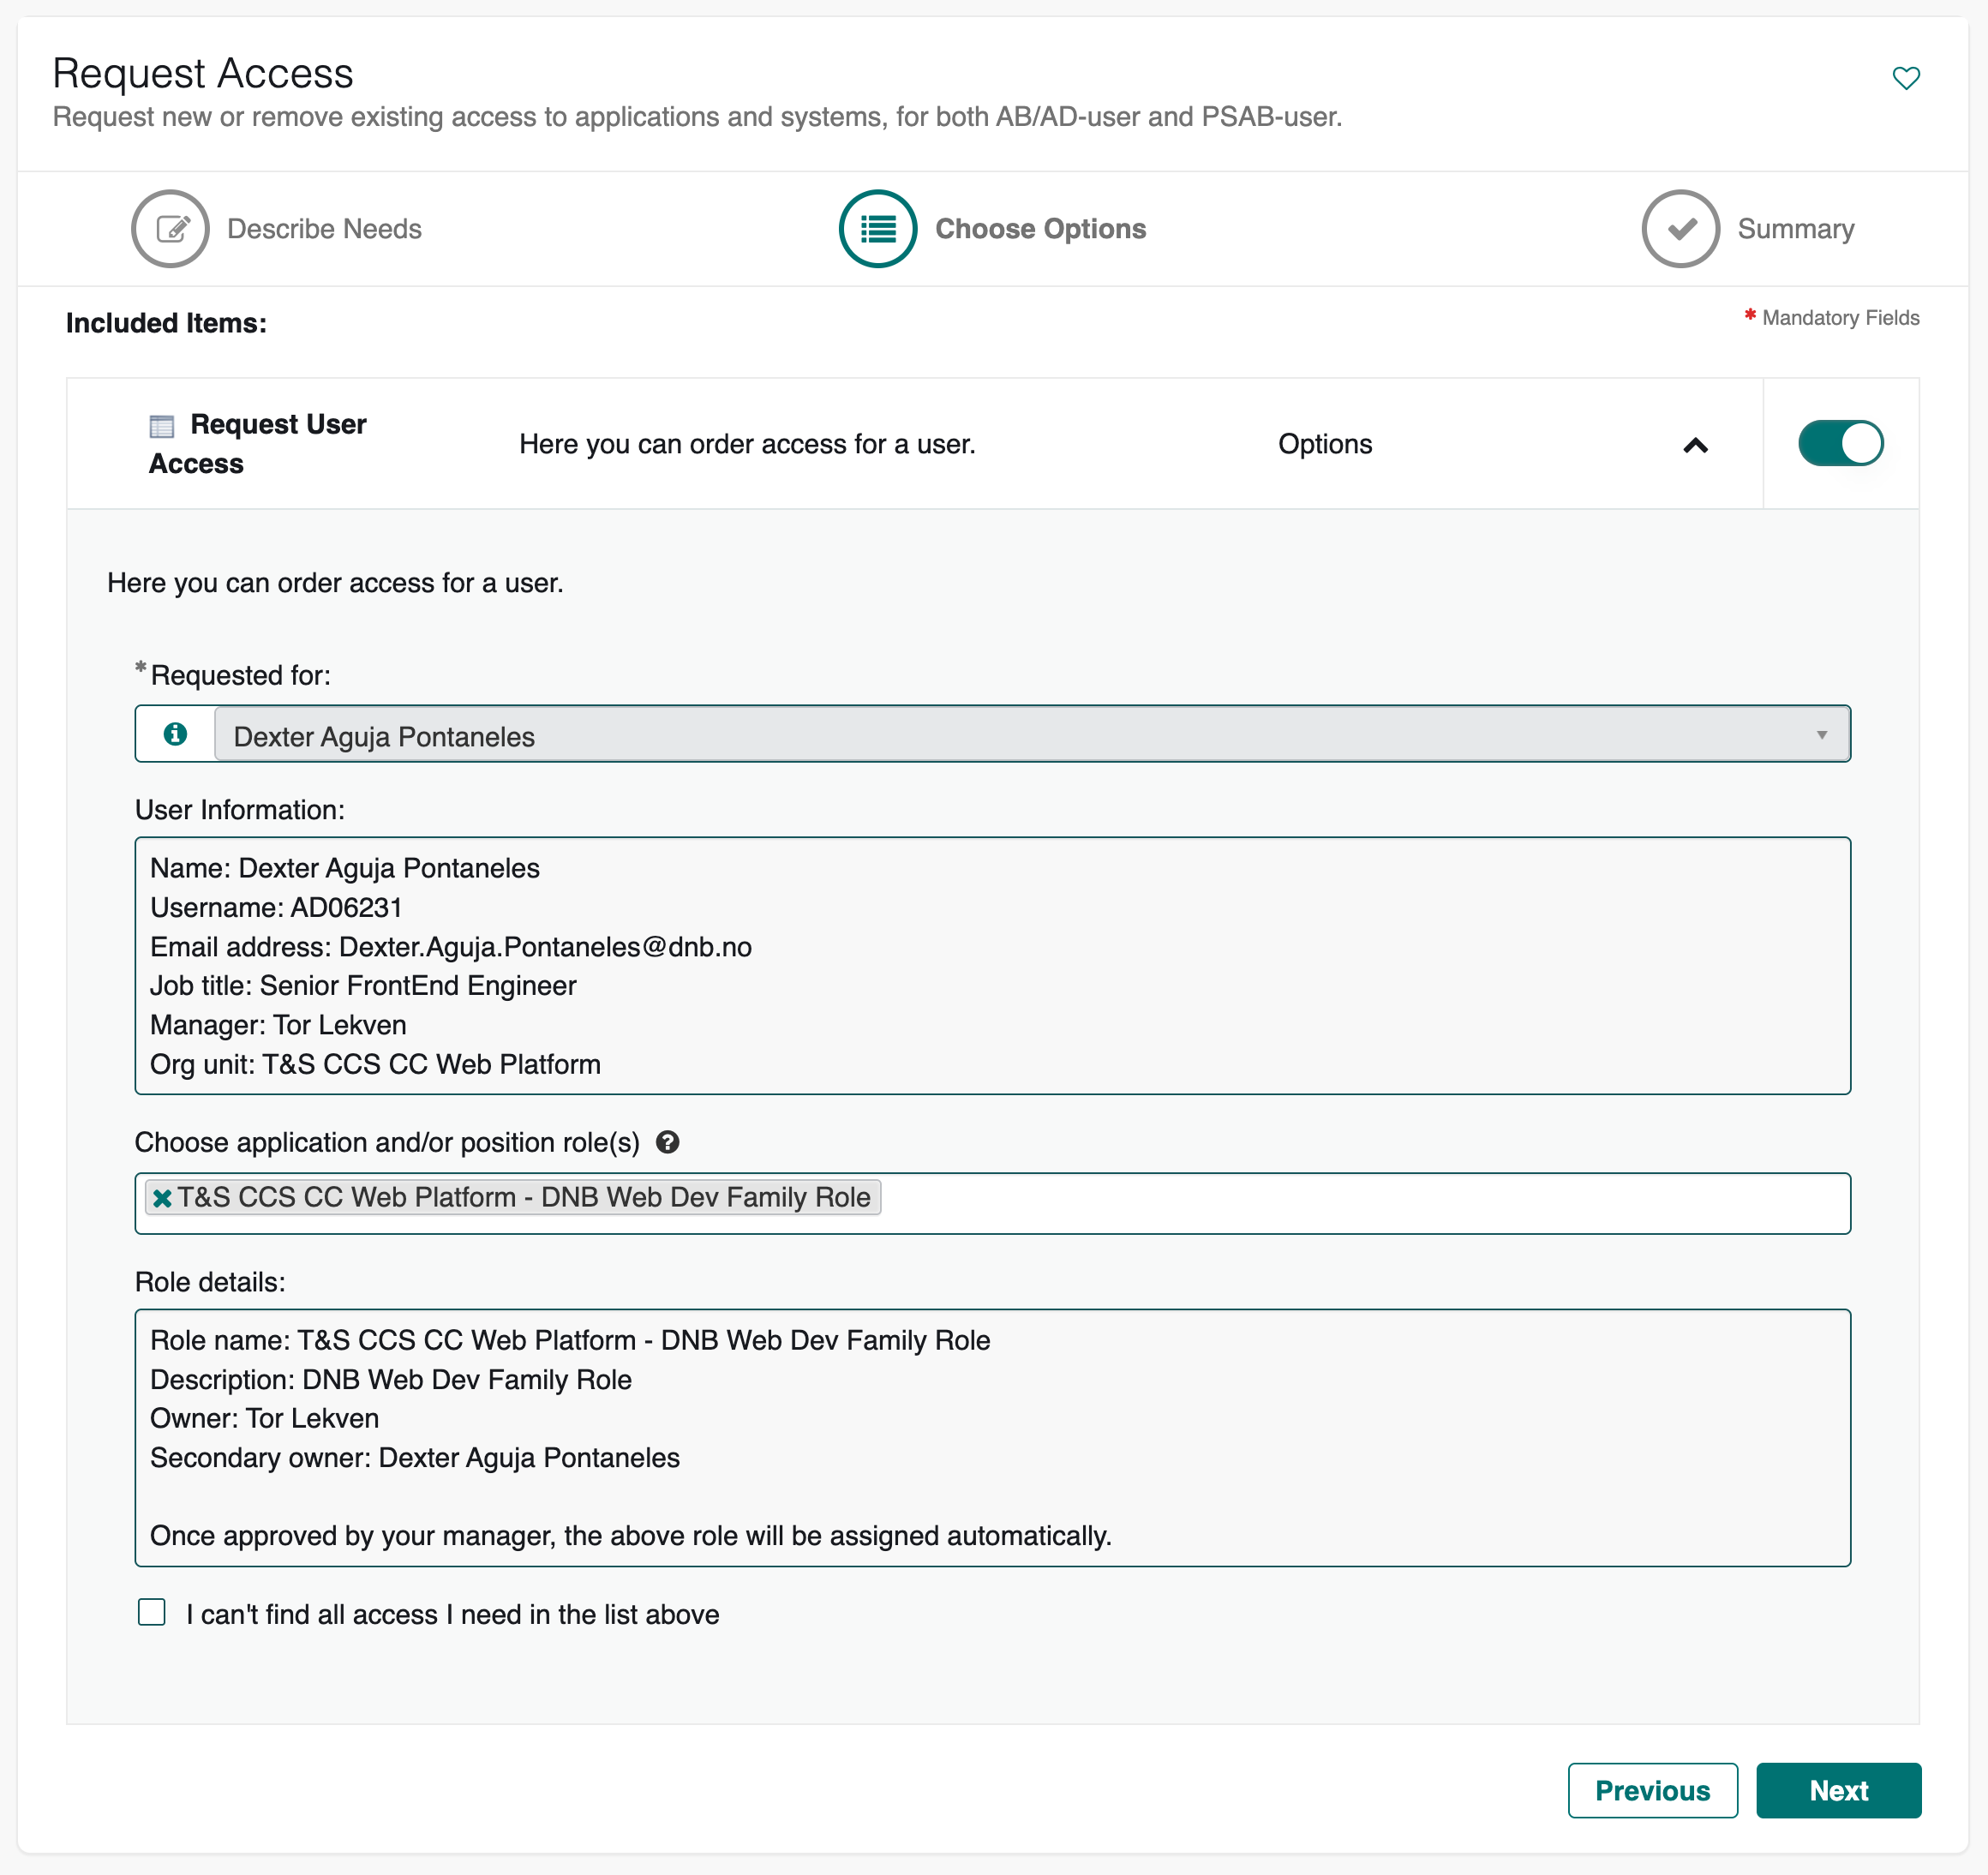
Click here for guide on requesting to be a part of T&S CCS CC Web Platform - DNB Web Dev Family Role
Request User access
- Raise a ServiceNow > Request Access ticket
- Select ☑️ Request user access and click Next
- Expand Request user access
- Choose the family role in the dropdown and click Next then Order access

Once you are a member of this family role, these AD groups will be visible in your Azure Entra PIM Groups page.
| Service | AD Group |
|---|---|
| Frontend Discovery Service | zta-env-aws-dnb-digital-channel-platform-frontend-discovery-service-dev,zta-env-aws-dnb-digital-channel-platform-frontend-discovery-service-test |
| DNB NX Private Cloud | zta-env-aws-dnb-digital-channel-platform-nx-dev |
If you already have these groups available in your Azure Entra PIM Groups page, remember to activate them every time you work on an app in Nucleus.
3. Request access to GitLab
In order to get access to GitLab, follow this guide: How to get access to DNB GitLab. After you are granted your GitLab access, contact your team so you can be added as a member of your team's GitLab Group.
Not sure who contact? Post a message on #nucleus-general on Slack.
4. Install node and git
Install these based on your platform of choice. Check the projects' pages for installation instructions.
5. Install pnpm
Most repositories will be set up using pnpm, and for ease of use we strongly recommend using corepack to handle versioning of the package manager.
corepack enable
To check if the repository uses pnpm, check the packageManager field in the package.json in the root of the repository. And will automatically be installed with the right version if corepack is enabled.
{
  "packageManager": "pnpm@8.5.1"
}
If you have installed node through brew, you have to install corepack separately.
If you have installed pnpm using npm, we recommend uninstalling pnpm, and having it run through corepack instead.
6. Configure nexus registry
We publish our shared libraries and tools to nexus npm registry. In most repositories npm should be configured to use nexus.
After switching to dnb.no SSO credentials in nexus registry, we encountered issues surrounding auth related to npm login CLI not supporting the @ character. To solve and simplify this, we have switched from dcf-npm registry to the npm-group nexus group which doesn't require auth to fetch packages. We had an workaround for fetching nucleus auth token but this is not necessary, and no longer recommended now.
If you encounter issues when installing packages, this might be related to the registry switch. These are some of the issues that could cause this:
- old auth configuration in your
~/.npmrcfile relating todcf-npmnexus registry. These entries should be removed - old entries in pnpm lock file referring to tarball location from
dcf-npm. These should also be removed
If you want to run the api-proxy or platform-backend outside any repo you need to configure npm globally to download the packages from nexus. It can be done by running the following commands. (The command is the same regardless if you're using npm, pnpm or yarn).
npm config set @nucleus:registry https://nexus.tech.dnb.no/nexus/repository/npm-group/
npm config set @dnb-cms:registry https://nexus.tech.dnb.no/nexus/repository/npm-group/
npm config set @dnb-shared-tools:registry https://nexus.tech.dnb.no/nexus/repository/npm-group/
npm config set @dnb-shared-libs:registry https://nexus.tech.dnb.no/nexus/repository/npm-group/
npm config set @dnb-web-infrastructure:registry https://nexus.tech.dnb.no/nexus/repository/npm-group/
7. Clone the apps repository
git clone ssh://git@gitlab.tech.dnb.no:2222/dnb/dcf/dnb-web-core-apps.git
8. Install the dependencies
cd dnb-web-core-apps
pnpm i
9. Run your application
Applications are individual packages located in apps folder, and are organized as pnpm workspaces. These are also managed by NX and are automatically added as NX projects based on the package.json files. You can run an application anywhere in the repository by referring to the application's package name.
pnpm nx start @dnb-web-core-apps/sidebarmenu
To run other commands (test, lint, build), use the nx run command. Since this is a package based NX setup, run commands with Nx match the npm scripts specified in the package.json file.
pnpm nx run <your-name-space>/<root-app>:<command>
Repositories
Check out other repositories maintained by the web platform. You may also clone these:
dnb-web-core-apps
dnb-web-shared-libraries
- Repository: https://gitlab.tech.dnb.no/dnb/dcf/dnb-web-shared-libraries
- NPM(Nexus) package name:
@dnb-shared-libs/<library name>
dnb-web-shared-tools
- Repository: https://gitlab.tech.dnb.no/dnb/dcf/dnb-web-shared-tools
- NPM(Nexus) package name:
@dnb-shared-tools/<tool name>
nucleus
- Repository: https://gitlab.tech.dnb.no/dnb/dcf/nucleus
- NPM(Nexus) package name:
@nucleus/<package name>
dnb-web-infrastructure
dnb-web-eik-packages
docs
- Repository: https://gitlab.tech.dnb.no/dnb/dcf/docs
akamai
- Repository: https://gitlab.tech.dnb.no/dnb/dcf/akamai
For both dnb-web-core-apps and dnb-web-shared-libraries repos, you should tell VS Code to use the workspace provided version of Typescript.
This enables the use of TS plugins for the IDE, providing things such as classname type-inference when importing SASS/CSS modules
- Run the Select Typescript Version command
- Select the workspace provided version
